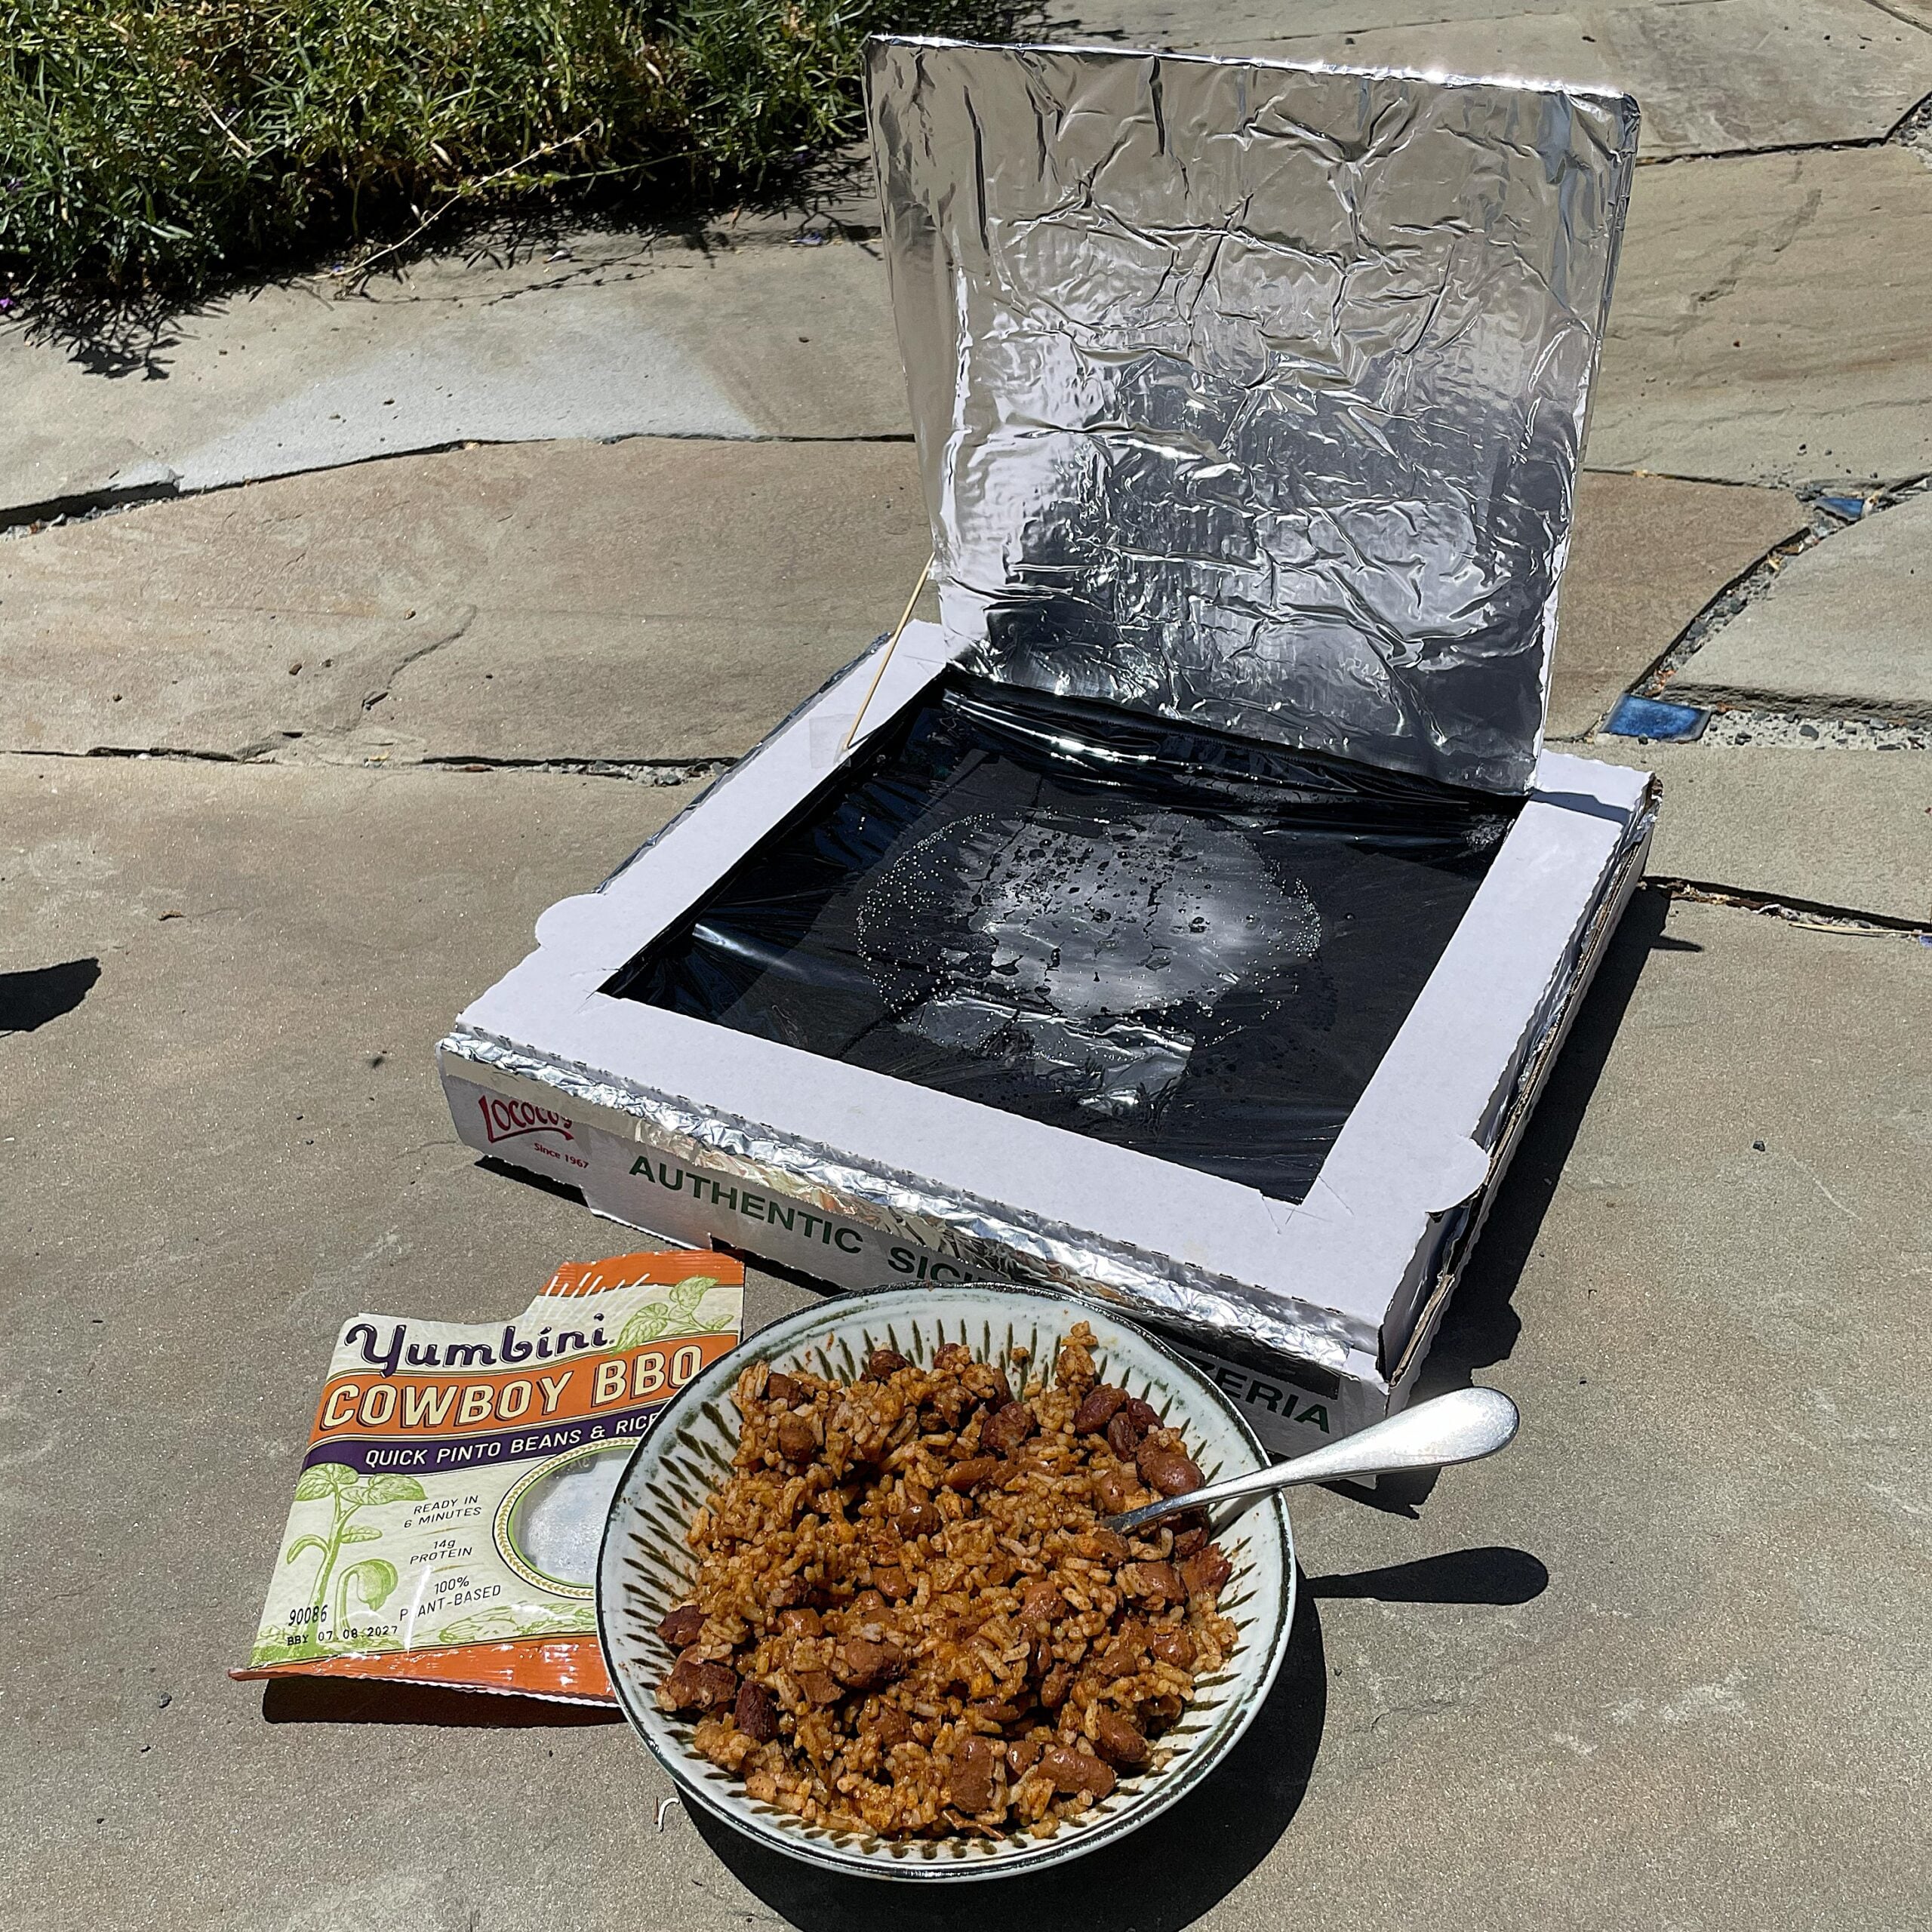

Solar Cooker Yumbini
If you are camping and not allowed to have open flame, or if you just want to do a science experiment with the kids, try making Yumbini in a solar cooker! I made my own solar cooker out of a pizza box and it worked! (Read more about that experiment.) Pretty much anything you build or buy will likely work better. All you need is Yumbini, water and sunshine!
Servings: 1
Equipment
- 1 Solar Cooker purchased or home made!
- 1 Bowl or pot that can fit inside solar cooker, dark color if possible
Ingredients
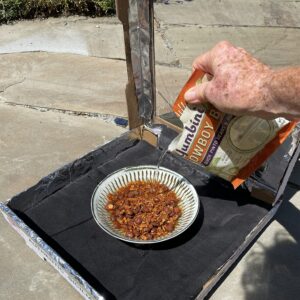
- 1-3.5 oz pkg Yumbini Quick Beans and Rice any flavor
- 3/4 cup Water measure in empty pouch
Instructions
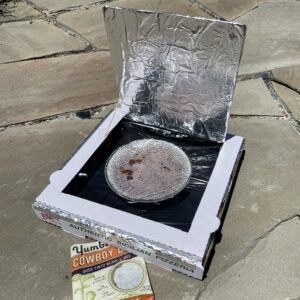
- Obtain a solar cooker. I made one myself from a pizza box following the instructions here. If I were to do it again, I would use a larger/deeper box. The essentials are a clear top and a shiny "flap" to reflect the sun. Be sure to cover the bottom of the cooker with black paper or cloth (like an old T shirt).
- Choose a sunny day, and plan to have solar-cooked Yumbini for a late lunch. That way you can "cook" using the strongest sunlight (between noon and 2:00 pm).
- Put bowl or pot into the solar cooker and add Yumbini.
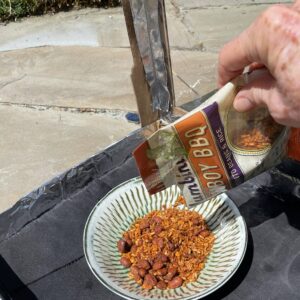
- Measure the required amount of water to the line in the empty pouch and pour on top of the Yumbini.

- Close the solar cooker and position in direct sunlight, pointing the flap(s) directly at the sun so light reflects down on the food.
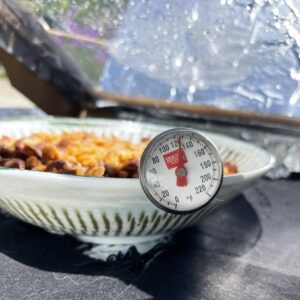
- Check every 15 minutes to see if the Yumbini is hot. If your solar cooker is very efficient and the Yumbini starts to boil, remove it right away and let it cool 3 minutes. Otherwise, heat to a palatable temperature. After more than 1 or 1.5 hours, it is not likely to get much hotter.For food safety, please do not leave Yumbini in a solar cooker for more than 2 hours.
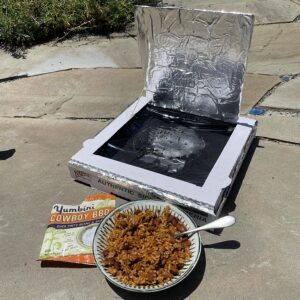
- Now sit back, relax and enjoy a nice warm bowl of beans and rice while your friends eat their sad, cold bars, peanut butter and meat sticks!